Create a Nurbs Shpere.
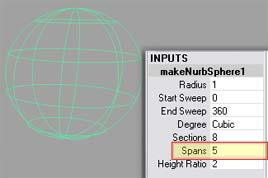
In the INPUTS section of the Channel Box, set the number of spans to 5. |
 |
|
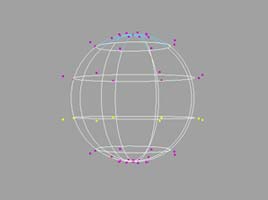
With your sphere selected in Object Mode, hold down the r-mouse button and select Control Vertex from the subcontext menu that pops up.
|
 |
|
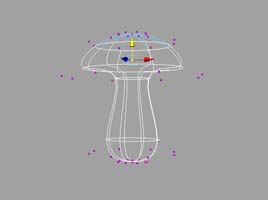
Highlight the lower of the middle ring of CVs with your move tool and scoot them up along the Y axis a bit.
Then scale them in to make a tight ring like pictured here. |
 |
|
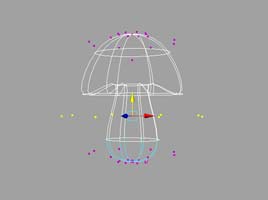
Now grab the CVs for the row above - they should be the widest spread row at this point.
Pull them down so they create a hood over what is now our mushroom stem.
|
 |
|
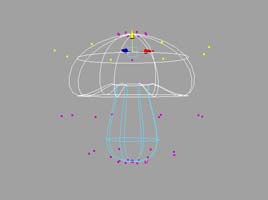
Head up to to the second to the top row and scale out the CVs. You might want to pull them down a bit too.
This is where you really define the shape of your mushroom cap.
|
 |
|
|
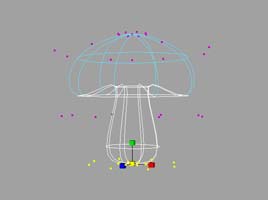
As a finishing touch, take the bottom two rows of CVs and scale them down flat together. That'll give us a nice base.
|
 |
|
| |
|
now off to making our shader! > > |
