With our primary regions marked out, its time to add something little more than just plain color.
|
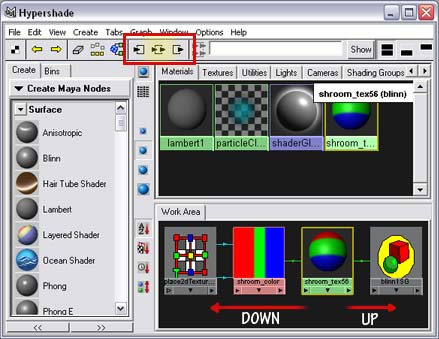 |
Go ahead and map your shading network in the Hypershade by selecting the Upstream/Downstream button found near the top of the window.
|
|
 |
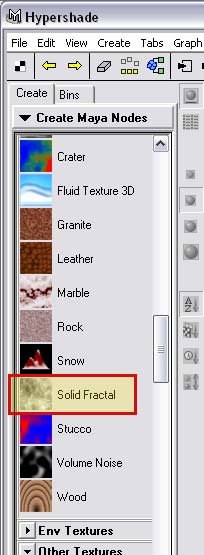
Create a new Solid Fractal by clicking the thumbnail in the Create Maya Nodes window under the 3D textures menu.
This should have made a new node in your Work Area.
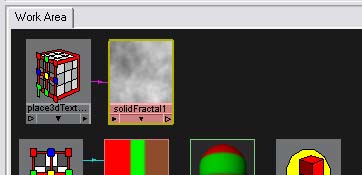
In the Work Area, double-click your new fractal [not it's placement node, but the fractal itself] to open up it's properties in the Attribute Editor.
|
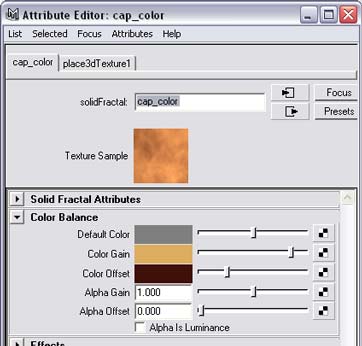
First off, name your fractal cap_color.
Go down to the Color Balance section in the editor and add a very dark, saturated reddish brown. In the Color Gain give it a slightly less saturated light tan.
NOTE:
I used a HSV value of 40/.5/.9 for the Gain and 350/.95/.15 for the Offset if you want to use those to block in your colors, but feel free to mix it up a bit - it is your mushshroom after all.
|
 |
 |
Now back in the Hypershade, pull up the attributes for shroom_color ramp.
Select your blue color swatch [carefully click the color dot on the left, but be aware that they are easy to move out of place] to make it the portion of your ramp that is in focus.
With the middle mouse button held down, drag the cap_color node from the Hypershade and drop it on top of the color channel of your shroom_color in the Attribute Editor.
|
Go ahead and make a new texture node like we just did for the cap, only this time use a Crater [from the 3D Textures menu] with three very light yellowish colors.
Name it stem_color and drop it into the red channel of your ramp.
NOTE:
A Crater works by blending between two primary colors and using a third as a transition. Channel 1 acts as a spot, 2 as the transition and 3 as a base. Playing with the Melt, Balance and Frequency can yield some very interesting results.
|
 |
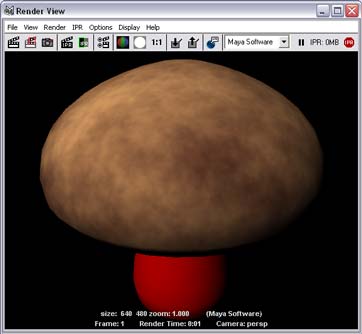
A quick render should give you a little treat like this.
|
|
|
 |
|
| < < back |
|
almost there > >
|
